Install WordPress Locally On Android
If you’re interested in creating a website or blog, WordPress is a great
choice for its user-friendly interface and extensive customization
options.
Did you know that you can install WordPress locally on your Android device?
In this article, we’ll guide you through the steps of how to install
WordPress locally on Android. And This is use For test wordpress website.
Not public Website.
So let’s start the guide and follow me step by step guide to Install
WordPress Locally On Android. So lets do it.
1st part
1. Before we can start install WordPress, we need to install Termux on our phone.
Termux app
is a free and open-source terminal emulator that provides a Linux
environment on your Android device. Click on the link to download termux app.
2.To do this, simply copy and paste the following command into your
Termux terminal:
apt update && apt upgrade -y
3. Now order to install the necessary packages to run WordPress locally on
your Android device, simply copy and paste the following command into your
Termux terminal:
pkg install git nano wget -y
4.Now that you have installed Termux with all the necessary packages, the
next step is to download and install the LAMP server on your Android
device. Type the following command and press Enter:
git clone https://github.com/mayTermux/lampTermux.git
5.After following the previous step, you would have downloaded the LAMP
server files on your Termux. Now navigate to the lampTermux directory with
the following command:
cd lampTermux
you need to make the lampTermux script executable by running the following
command:
chmod +x install.sh
run the lampTermux script using the following command:
./install.sh
This script will install Apache, PHP, MySQL, and phpMyAdmin on your Android
device.
Now that you have installed the LAMP server on your Android phone, the next
step is to start the server.After installation of LAMP server. Exit The
termux app to refresh the changes.running the following command:
exit;
6.Open your Termux terminal. Type the following command and press Enter:
lamp
This command will display all the available options on your screen.
Enable two options: start Apache and start MySQL. To start Apache, type “0”
and press Enter. To start MySQL, type “1” and press Enter.
You will see a message that Apache and MySQL have been started
successfully.
Open any browser on your Android device. For example, Chrome browser.
Type “localhost:8080” in the address bar and press Enter.
If you see this page, it means that you have successfully installed and
configured the LAMP server on your Phone.
Second part
To configure MySQL and set the root password, follow the steps
below:
1.After enabling the MySQL service, log in to MySQL with the root user by
entering the following command in the Termux terminal:
mysql -u root
This command will take you to the MySQL login.
type the following command to use the MySQL database:
use mysql;
This command will log you in to the MySQL database.
we will set a new MySQL database password using the command below:
set password for 'root'@'localhost' = password('000000');
Replace ‘000000’ with the MySQL database password you want to set.
After setting the root password, refresh the MySQL settings using the
following command:
flush privileges;
To exit MySQL, type the following command:
exit;
2.To log in to your phpMyadmin page, open any browser and type in the
address bar: https://localhost:8080/phpmyadmin
It will prompt you for a username and password. Use “root” as the
username and “000000” as the MySQL database password, according to the
steps mentioned earlier.
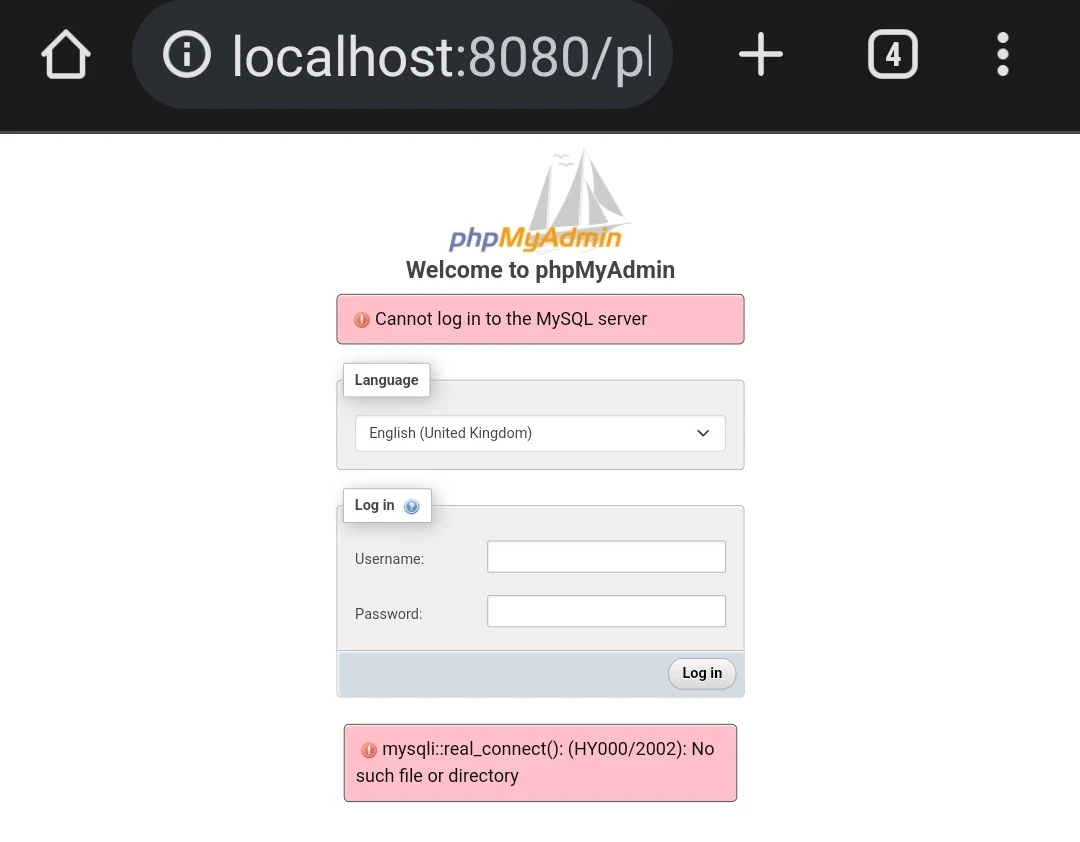
3. If you encounter an error message such as :
Open the Termux app and copy-paste the following command:
nano /data/data/com.termux/files/usr/etc/phpmyadmin/config.inc.php
4. Next, you need to replace one line of code. Look for this line:
$cfg['Servers'][$i]['host'] = 'localhost';
Replace it with:
$cfg['Servers'][$i]['host'] = '127.0.0.1';
Then press CTRL + o + Enter and CTRL + x to save your changes.
Restart the MYSQL server and try logging in to the phpMyadmin page again.
The error message should be resolved now.
Third part
Now to use WordPress you need to create a database manually. So lets fo
it.
1. First login to your phpMyadmin using above steps.
2. Click on the “Databases” tab at the top of the page.
3.In the “Create database” field, enter the name “MT”.
4.Click on the “Create” button to create the new database.
You can now begin creating tables and adding data to the MT
database.
4th part
All required setups have been completed, and we are now ready to
download and configure WordPress on your Termux app. Let’s get
started!
1.First, you need to download the WordPress zip file to your
device. Follow the commands below:
cd && cd htdocs/
Remove the default index file using the following command:
rm index.php
Download the WordPress zip file into that folder using the following
command:
wget https://wordpress.org/latest.zip
Extract the WordPress zip file using the following command:
unzip latest.zip
Move the WordPress files to the proper folder using the following
command:
cd wordpress/ && mv * ../ && cd ..
Let’s configure the WordPress admin dashboard.
2. Now Open a web browser and go to the URL where you have
installed WordPress. For example, we have installed WordPress on your
local machine, the URL will be http://localhost:8080. You should see the
WordPress installation page. Select your preferred language and click on
the “Continue” button.
3.On the next page, you will see the WordPress database setup
form. Enter the following information in the appropriate fields:
Database Name: In this case, the database name is “MT”
Username:
“root”
Password: “000000”
Database Host: “127.0.0.1”
Table Prefix (if you want
to change it): [Insert desired prefix here]
Once you have entered the information, click on the “Submit” button to
continue.
4.you will see a confirmation message on the next page. Click on the “Run
the installation” button to proceed.
5.On the next page, you will be prompted to enter the site title,
username, password, and email address for your WordPress site. Fill in
the fields with the appropriate information and click on the “Install
WordPress” button.
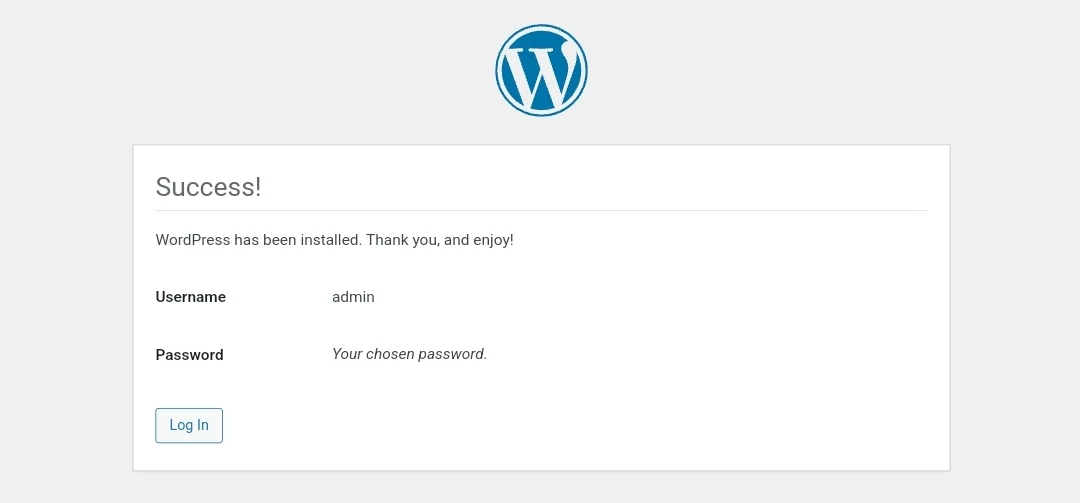
6. Once the installation is complete, you will see a success
message. Click on the “Log In” button to access the WordPress admin
dashboard.
Congratulations! You have successfully set up your WordPress admin
dashboard. From here, you can customize your site’s design, create new
posts and pages, install plugins, and much more.
How On And Off This Website
1. Fast Open Termux terminal. Now write lamp and Enable two options: start
Apache and start MySQL. To start Apache, type “0” and press Enter. To start
MySQL, type “1” and press Enter.
lamp
Now Start Wordpress Website.
2. Open Termux terminal.Now write lamp and Enable two options: stop Apache
and stop MySQL. To stop Apache, type “2” and press Enter. To stop MySQL,
type “3” and press Enter.
lamp
Now Stop Wordpress Website.
copyright:
Md Mubarok


.jpeg)


